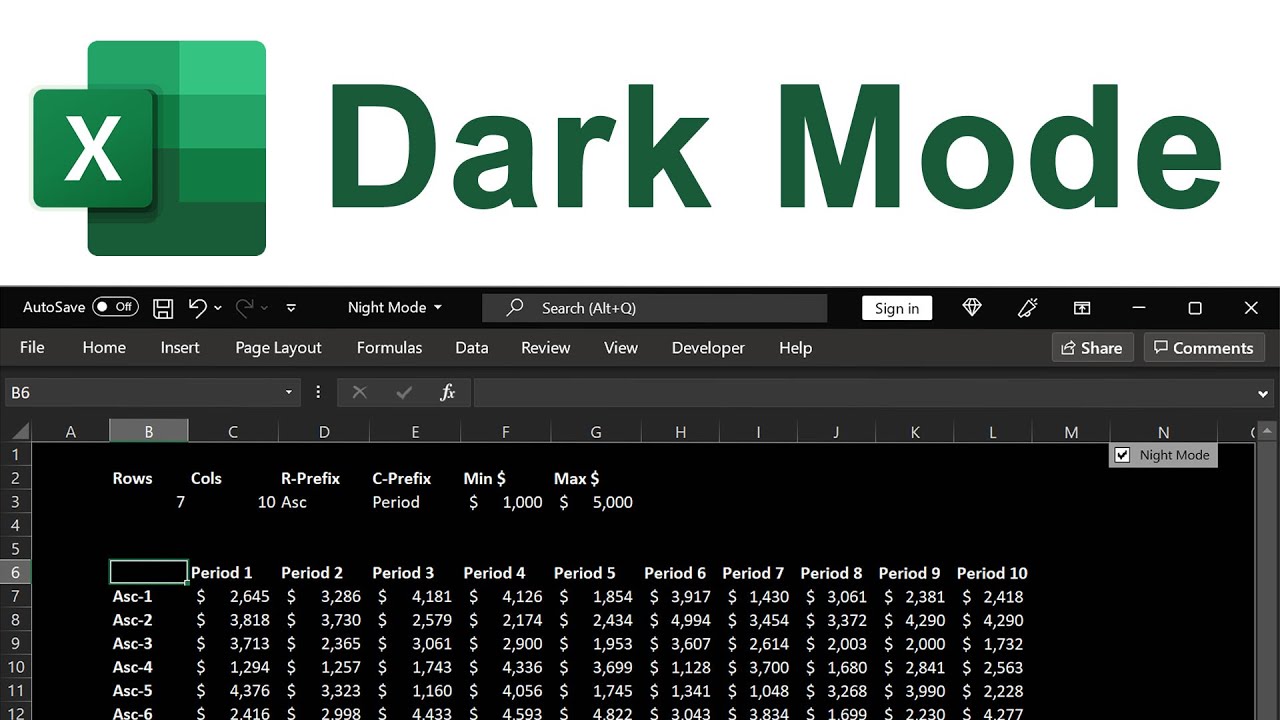
Extended screen time, especially when working with spreadsheets, can contribute to eye strain and fatigue. Fortunately, Microsoft Excel offers a dark mode feature that can significantly improve your viewing comfort, particularly in low-light conditions or during those late-night work sessions. Dark mode inverts the traditional color scheme, replacing the bright white background with darker hues that are gentler on the eyes.
While Excel’s built-in dark mode primarily affects the application’s interface elements like the ribbon, menus, and toolbars, the spreadsheet itself remains stark white. However, with a few simple and easy tricks, you can extend the dark mode aesthetic to the entire worksheet, creating a truly immersive and visually appealing workspace.
Let’s delve into the steps involved in enabling and customizing Microsoft Excel dark mode:
Transforming the Excel Interface
- Begin by clicking on File in the ribbon located at the top of the Excel window. This will open a dropdown menu with various options.
- From the File menu, scroll down and select Account. This will take you to the Account settings page for Excel.
- On the Account page, locate the Office Theme dropdown menu. This menu allows you to customize the overall appearance of the Microsoft Office suite.
- Click on the Office Theme dropdown and choose either Dark Gray or Black, depending on your preference. Dark Gray provides a slightly lighter dark mode experience, while Black offers a truly immersive dark theme.
- To apply the changes and return to your spreadsheet, click the Back arrow in the top left corner of the screen. You’ll immediately notice that the Excel interface elements have adopted the chosen dark theme.
Extending Dark Mode to the Spreadsheet
While the interface is now comfortably dark, the spreadsheet’s bright white background can still cause strain. Here’s how to address that:
- Navigate to the Page Layout tab in the ribbon at the top of the screen. This tab contains options for customizing the page setup and appearance of your spreadsheet.
- Within the Page Layout tab, click on the Background option. This will open the Insert Pictures dialog box, which allows you to choose an image to use as the background for your spreadsheet.
- Instead of selecting an image, click on the Search Bing search box within the Insert Pictures dialog box. This enables you to search for images online directly from within Excel.
- In the Search Bing box, type “solid gray” or “solid black” to find a suitable dark background for your spreadsheet. The choice between gray and black depends on your desired level of darkness.
- Press Enter to initiate the search. Browse through the results and select a background image that suits your preference. Click Insert to apply the chosen background to your spreadsheet.
- With a dark background in place, you’ll likely need to adjust the text color for optimal readability. Press Ctrl-A to select all cells in the spreadsheet.
- Go to the Home tab in the ribbon and locate the Font color dropdown menu.
- Click on the Font color dropdown and select white or any other contrasting color that stands out clearly against the dark background. This will ensure that your data remains easily visible.
By following these steps, you’ve successfully enabled Microsoft Excel dark mode for both the interface and the spreadsheet, creating a more visually comfortable and engaging workspace. This customization can help reduce eye strain, improve focus, and enhance your overall Excel experience.


